
Actors, lend us your highlighters! (’cause they’re a hinderance and you don’t need ’em).
What’s the first thing you do when you get given a script or an audition side? You get out your highlighters and highlight your character’s lines.
Highlighting is good, yes, because it makes it easier to navigate your lines during rehearsal. The lines are ‘highlighted’ and stand out more and therefore make it easier for you to learn them.
But we’re going to let you in on a little secret…
An audition is not about your lines. In fact, it’s not about lines at all. Acting is not about the words.
When you highlight, you are saying:
- I am only concerned with my lines
- My focus is to learn my lines off by heart
So, if it’s not about the words, what IS acting about?
Acting is about embodying a character and relaying the feelings and thoughts of that character to an audience. This can be in the form of a line of dialogue, a gesture, the relationship to another character, place or object. See how in this description, dialogue was just one of the marks of a character. Just as we don’t exist merely in the words we say, characters shouldn’t fully exist in theirs.
When it comes time to learning an audition scene, many actors focus on learning the character’s lines, as though through those particular words, the world of the character will reveal itself. There are very few humans we’ve met that actually say what they’re thinking or feeling all of the time. Their truth often lies in the unspoken. And so it is true for the character you’re auditioning for.
This 5-step process below – which we’ve called PRIHM – will hopefully give you a technique for creating a WHOLE character before you get into that audition room, and presenting this character to a Casting Director.
So, put down your highlighters for a sec and read the following carefully:
A 5-Step Process for Preparing Your Audition Scenes
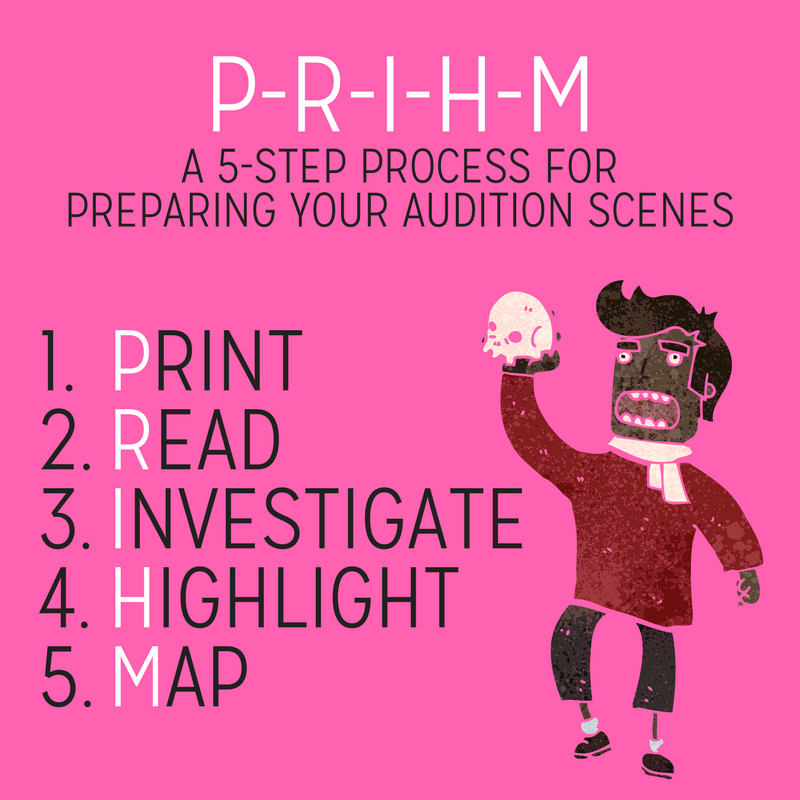
#1 PRINT the audition sides
This may seem like a big ‘der’ but believe it or not, many actors do their prep work off their phones. Print your sides, staple them and you’re ready to start working. Oh, and keep a lead pencil and sheet of paper nearby!
#2 READ the audition sides
Again, ‘der’. But you’d be surprised…’glancing’, ‘skimming’ seems to be the common form of reading these days. When we say read the sides, we mean read every single aspect of it, from the top right corner to the bottom left. And not just the dialogue either, but the italicised directions, the scene headings, the arrows, the dates. There is a lot of information circulating about and your brain needs to have seen it in order to begin processing it.
Remember also that most audition sides are accompanied by an email from your agent (if you have one) which will have a lot of the production details including a summary of the production, your character bio and so on. There may be important information lurking here as well, so be diligent and read everything.
#3 INVESTIGATE the given circumstances of the scenes
Notice how we didn’t say ‘investigate the given circumstances of your character’? You are not ready to begin working on your character until you’ve listed everything you know about their world. You would’ve read all the information in Step 2 and now you can go over that information and begin listing the given circumstances – in other words, list what you know about:
- Your character
- The other characters in the scene
- The place
- The big ideas/themes
- The events
- The moment before
And this can be found in:
- The dialogue (of ALL the characters)
- The stage directions
- The scene headings
- The emails
- The production notes
Some information may not be clearly visible so feel free to use your imagination to make it up, making sure of course that your imaginings fit into the world of the scene.
NOTE: By the end of this step, you will have known the other elements of the scene in just as much detail as your character. This is a good test actually – if you can talk more about your character than you can about the other characters in the scene, you’re probably being too zoomed-in and not opening yourself up to the world in which the character exists.
#4 HIGHLIGHT your lines
Ah finally, we can get our highlighters out you say! Surprised that this step wasn’t earlier? If you highlight your character’s lines too early on in the game, you risk focussing solely on your character’s journey. Yes, eventually you do have to map out your character’s journey and identify their objectives but it is only when it is done in the context of the greater story that you will find greater accuracy. And, not to sound harsh, it’s not just about your character. There is a whole dance and musicality and rhythm to a scene. Be aware of all the components. You owe it to the writers and producers, as well as to yourself.
But yes, it is time now to focus on your character, as this is who you’ll be auditioning. Highlight those lines to get yourself ready for the next step.
#5 MAP your character’s journey in each scene/side
Casting Directors don’t do anything accidentally. They have provided you with more than one side for a reason. Each side will showcase a different trait or objective of your character. The character may be more pleading and desperate in one side but more passive and vulnerable in the next. It’s up to you to work out which is which. Why do CD’s do this? They want you to show your range. They want to see that you can access a range of emotions and that you understand that a character, just like a real-life person, is complex and made up of more than one aspect. This helps to create rich and interesting characters.
You might also like to ask yourself in this step, where does your character begin EMOTIONALLY in the beginning of the scene and where do they end? Casting Directors want to see dynamic movement, change, surprise, discovery. You CANNOT begin a scene and end it in the same way. Why would we want to watch that? We want to see characters traversing the complex mazes of their minds and lose and then win and then fight and fail and all that fun stuff. The moment you realise your character needs to be just as dynamic as you are, you have struck gold.
When you’ve done all this, you’re now ready to get your scene on the floor and add the technical bits and pieces, like focal points, eye-lines, costume and so on (but we’ll explore this in another article soon).
Oh, and you know what else would’ve happened? You’ll have learnt all your lines off by heart without even trying. Or needing to really rely on highlighting. How? You would’ve read through the scenes so many times during your preparation that the lines are already embedded into your brains. That’s what we call working smarter, not harder my friends!
While we’ve got you here…
Jump to 6:15 in this video. Stella Adler might have something to say about acting words.